How to Set Up Your Own Rating and Premium Calculation Rules in Openkoda PAS
Build a motor rating engine from four tables: derive the ages you do not store, combine the factors, add fees and tax, then price a real risk and reprice it.
A step-by-step guide to creating a personalized insurance policy dashboard in Openkoda using customizable widgets and real-time data.

A personalized policy dashboard is a centralized hub designed to give you quick access to key policy data and support informed decision-making.
Custom dashboards allow insurers to track and manage important metrics such as: claims processing times, premium collection status, policy renewal rates, client demographics, payment schedules, or any other metric. Openkoda Insurance Policy Management Software lets you personalize your dashboard to focus on the data most relevant to your specific operations.
Using this approach, you can create your own best policy management software that is tailored to your needs, but at a fraction of the cost.
This guide will walk you through the steps to create a dashboard that enables you to make smarter, faster decisions using real-time data.
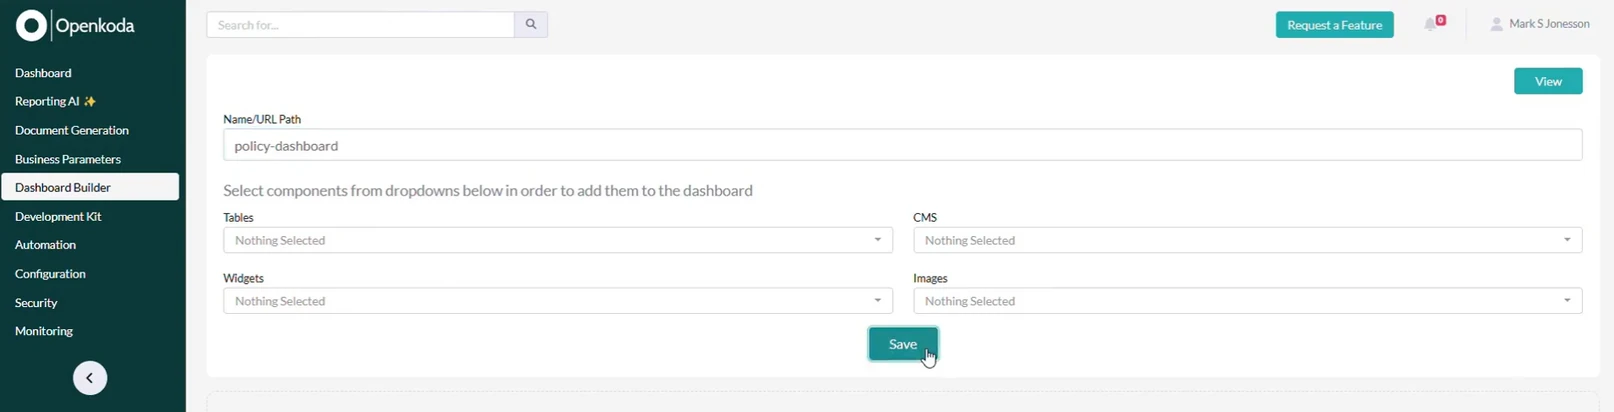
Start by entering the Dashboard Builder in Openkoda and selecting the 'Add New Dashboard' option.
In Openkoda you can add as many new dashboards as you want.
This will create a dedicated space for displaying critical policy data, tailored to your operations.
In the Dashboard Builder configurator, you can decide what types of information should be placed in your dashboard. It makes sure that all key policy metrics are easily accessible in one place and reduces the time spent searching for information.
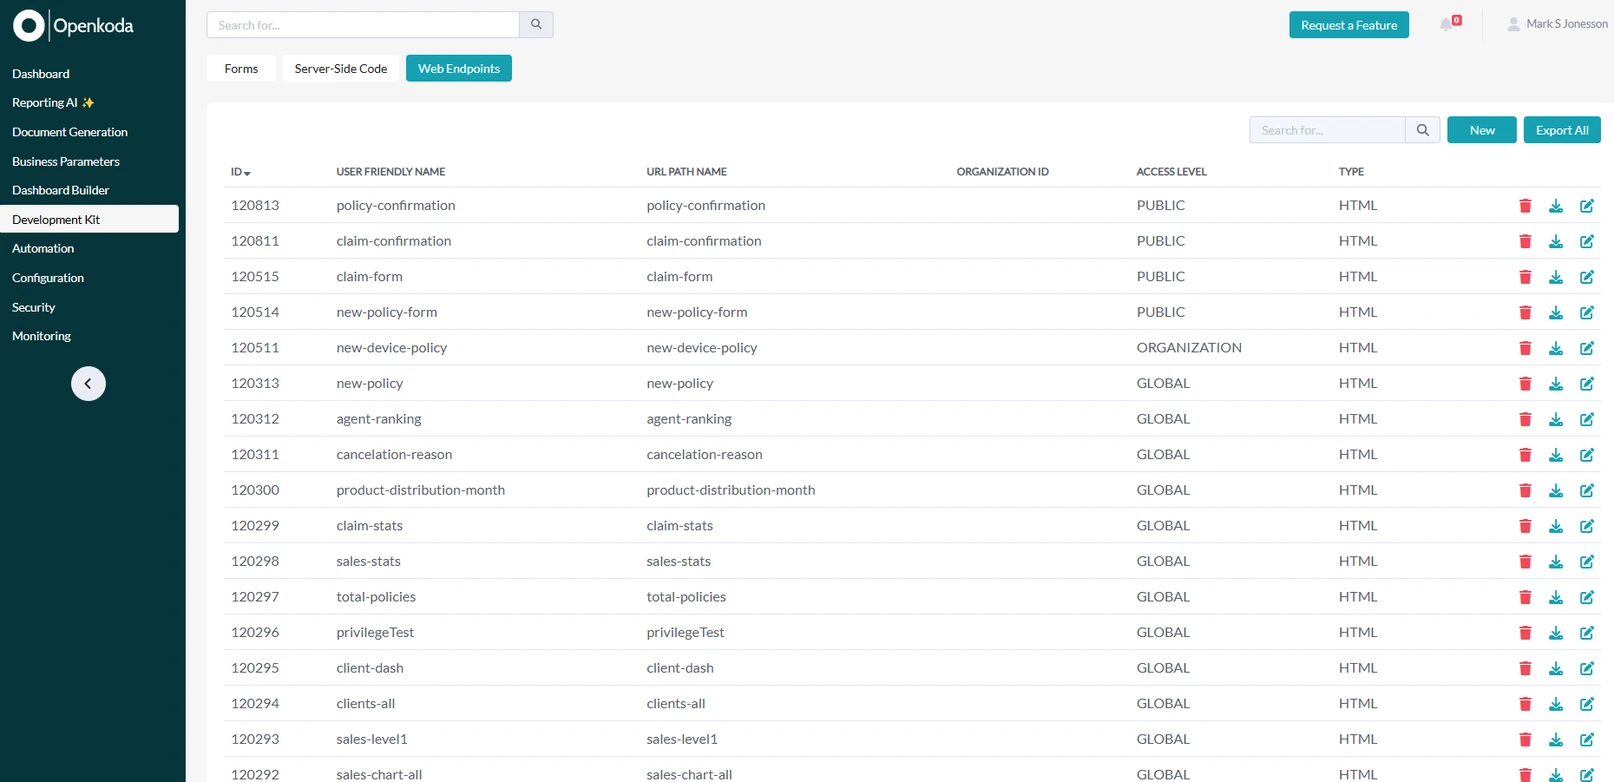
Now, we need to populate your dashboard by selecting widgets that display the information you want to monitor.
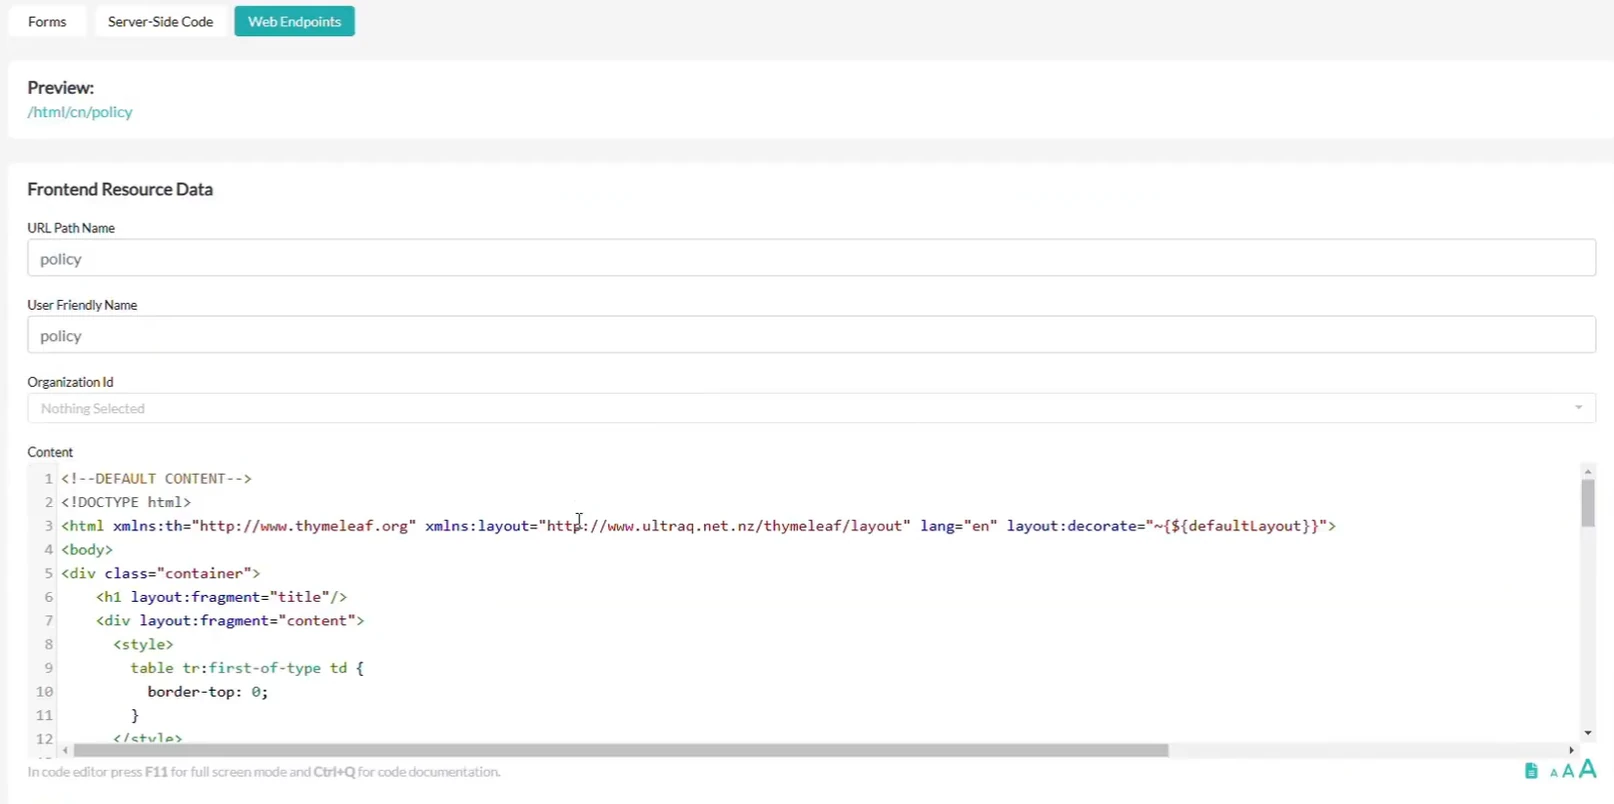
Openkoda offers a variety of customizable widgets available in the web endpoints table, such as:
And any custom widget you can think of.
Here you can create, define and customize these widgets directly in Openkoda to fit your needs.
By customizing the dashboard with relevant widgets, you can improve the decision-making process and operational efficiency.
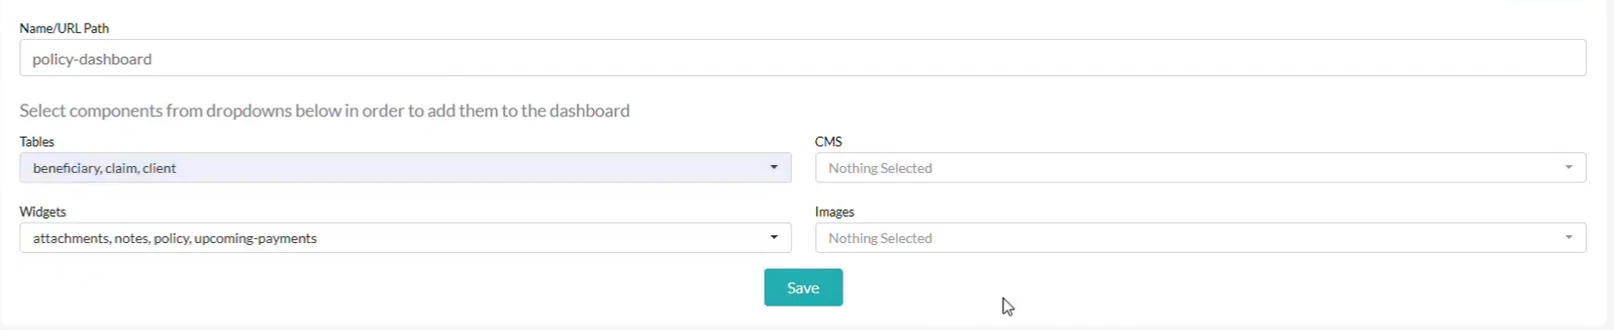
Go to the Dashboard Builder and select the widgets and tables you want.
In this case, we select widgets such as: attachments, notes, policies, and upcoming payments, as well as a table with beneficiary, claim, and client information.
All of this data will appear on my dashboard.
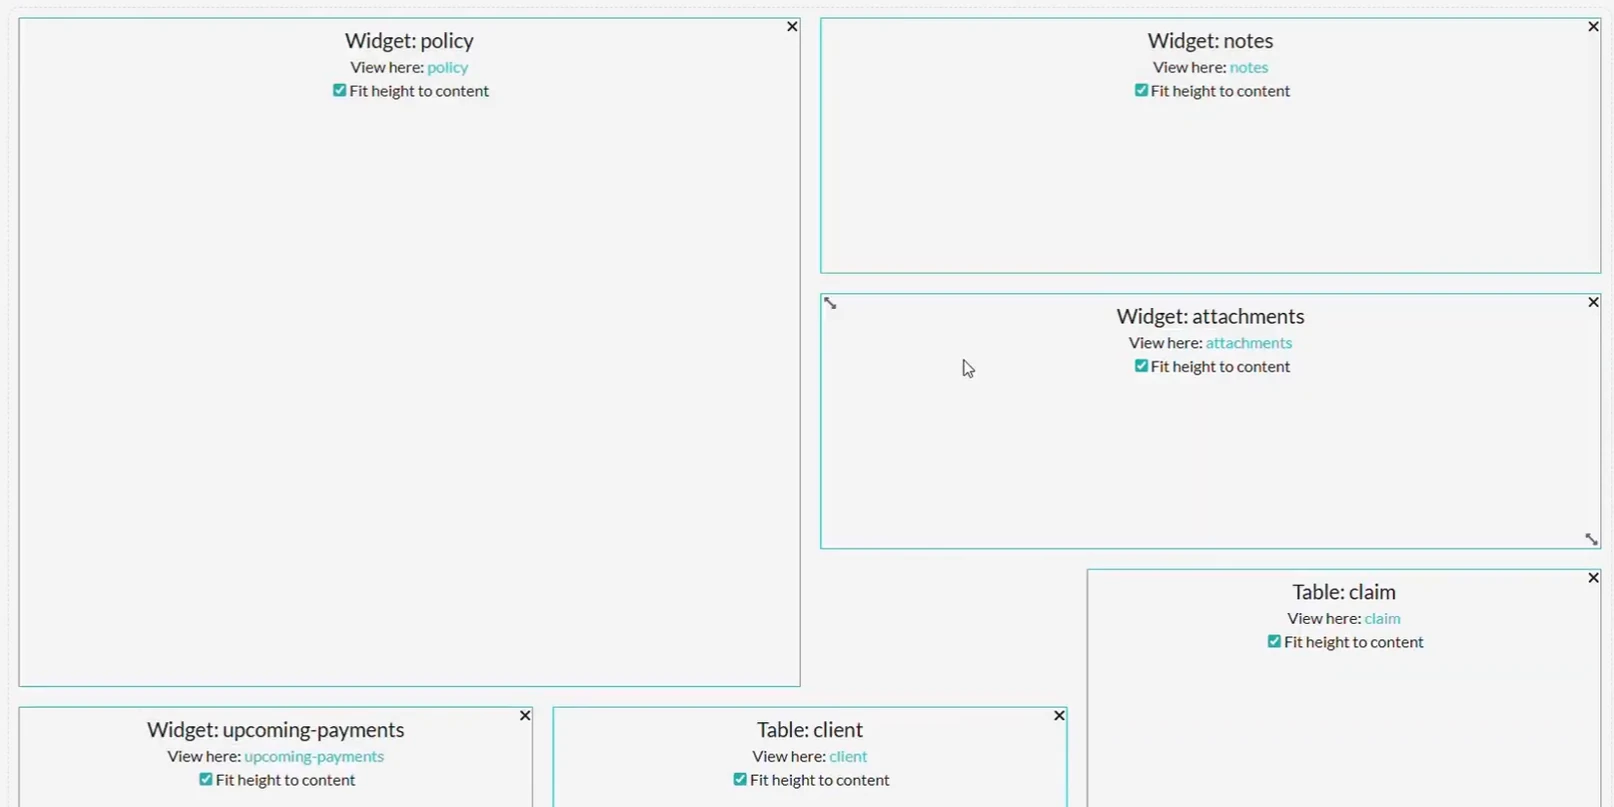
Use the drag-and-drop functionality to arrange the selected widgets and tables on your dashboard.
This flexibility allows you to organize the layout in a way that best suits your workflow.
An intuitive layout enhances productivity by enabling quick access to frequently used data and ensuring that the dashboard supports your specific workflow.

To ensure easy access, add an icon with a direct link to your new dashboard from the policy screen.
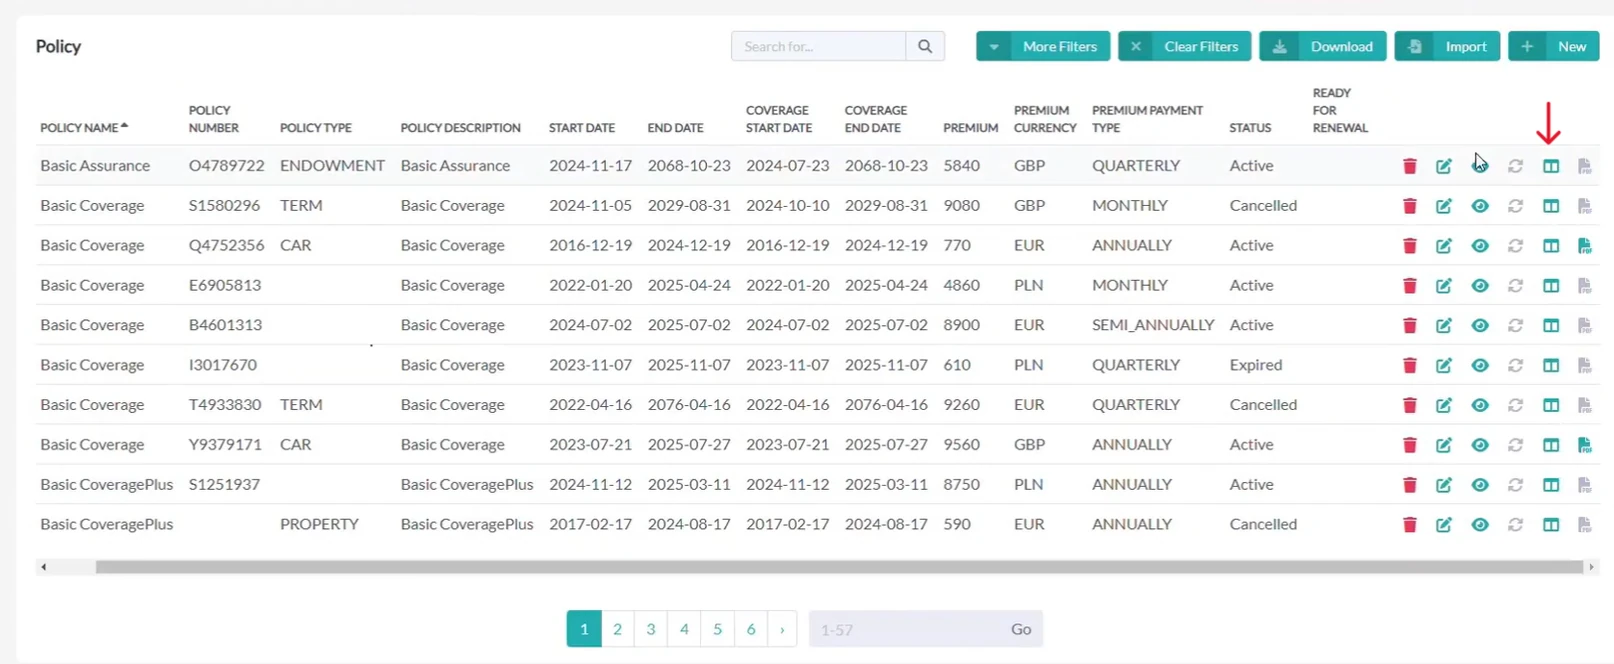
This allows users to navigate seamlessly between individual policies and the dashboard.
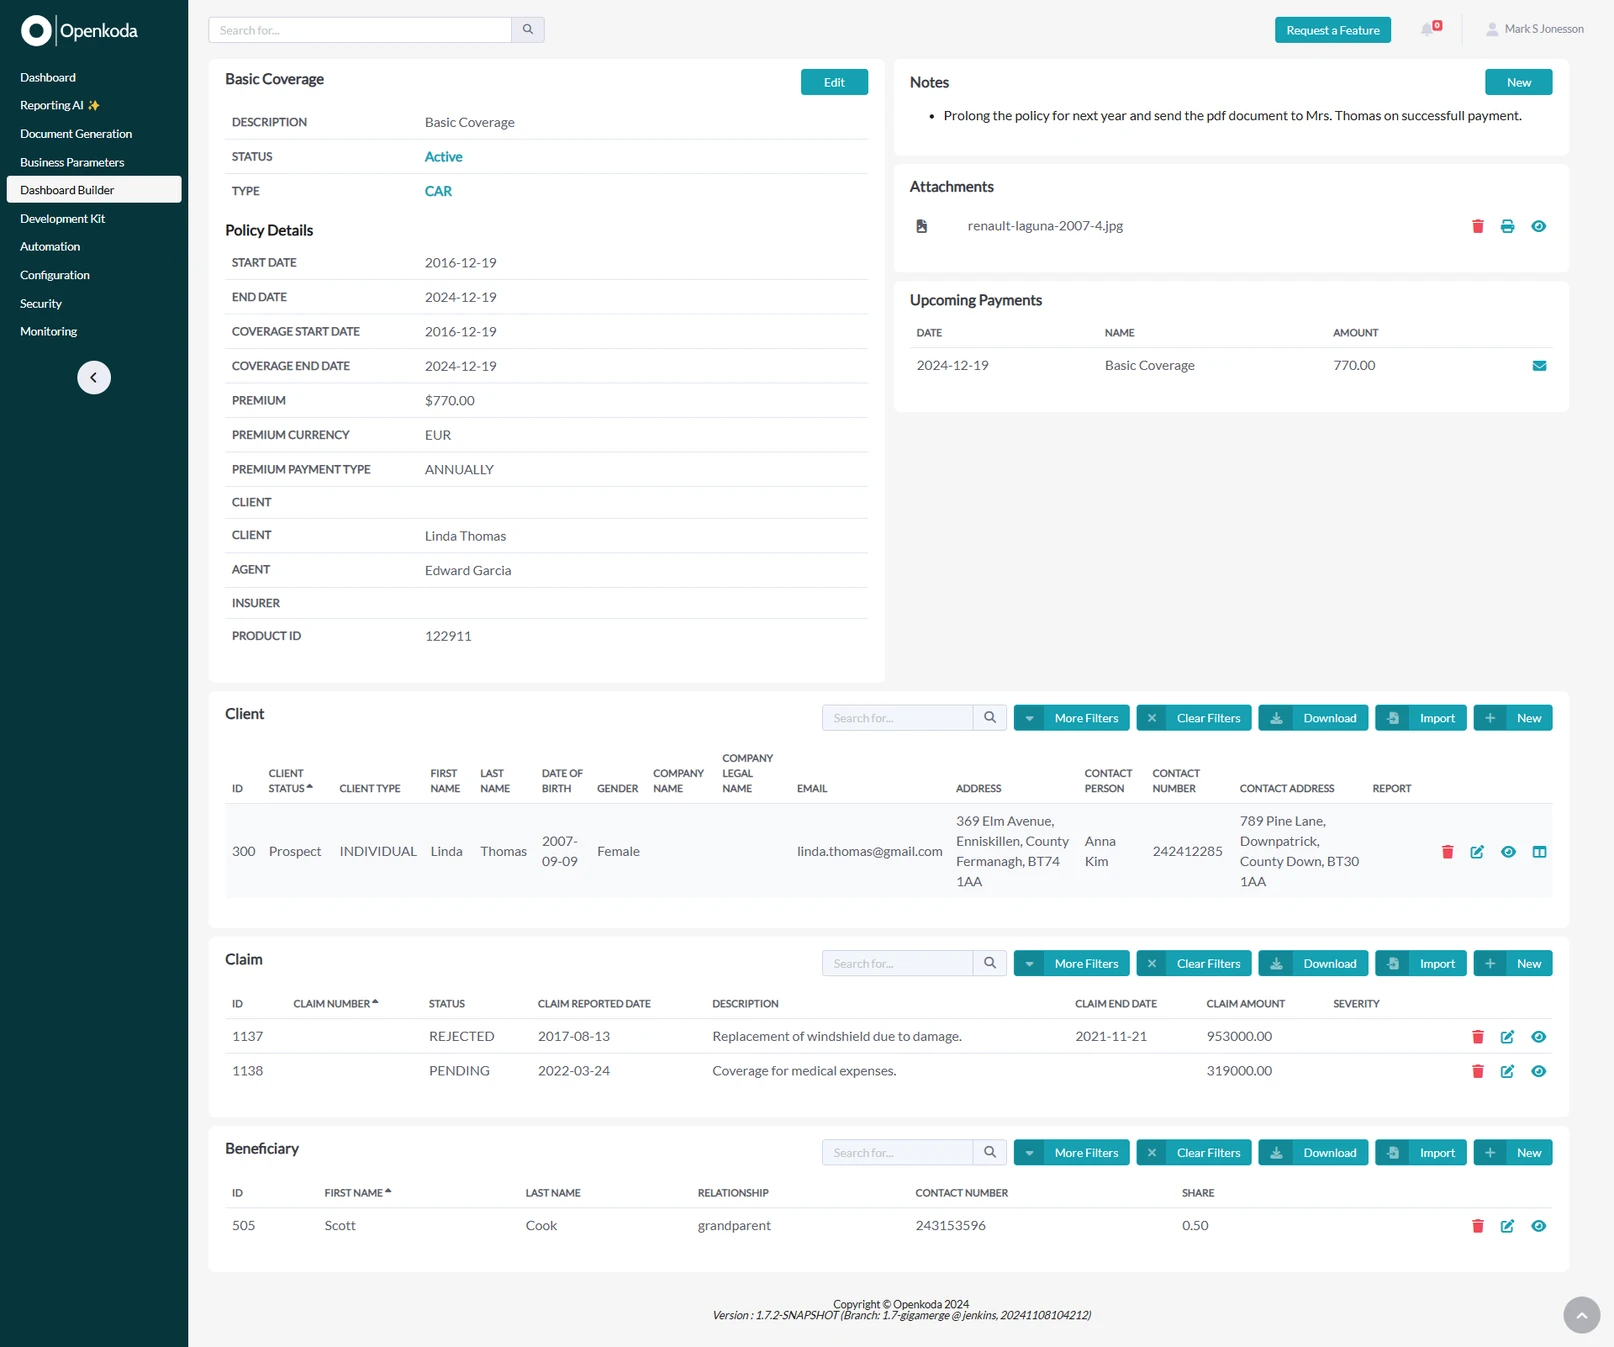
Click on the new icon to open the dashboard you've just created.
Here, you can see all the data displayed in real-time, offering a clear and comprehensive view of important policy information at a glance which is a solid starting point for building your own custom policy management software.
The individual policy record can be read the same way. A policy 360 view gathers the cover, the billing, the claims and the documents for one policy into a single scroll.
Real-time insights provide the clarity needed to make informed decisions, enabling proactive policy management and improved customer satisfaction.
The customization options for the dashboard are endless in Openkoda.
Building a personalized insurance policy dashboard in Openkoda is a straightforward process. By centralizing key metrics and providing real-time insights, this dashboard improves efficiency, decision-making, and overall policy management. Ready to streamline your insurance workflow? Book a personal demo to learn even more.

Build a motor rating engine from four tables: derive the ages you do not store, combine the factors, add fees and tax, then price a real risk and reprice it.

Automate a claim acknowledgment end to end: a Word template with placeholders, the email that carries it, and a workflow that fires when the claim form arrives.
Build a billing desk board tile by tile, then a second one by describing it in a sentence, and make one the screen your team signs in to.
Book a live, personalized demo with our product team - tell us your use case and see the platform work with your data. No commitment.