
How to Personalize Your Openkoda Interface to Match Your Brand
Your brand isn’t just a logo – it’s the personality of your business. Imagine your software reflecting that personality, offering not just functionality but a memorable experience tailored to your organization. With Openkoda, you can turn this vision into reality. Personalize your interface to reinforce trust, streamline operations, and create a seamless connection between your brand and users.
Why Personalization Matters in Insurance Software
Personalizing insurance software ensures that the platform not only fulfills its practical functions but also embodies your brand identity.
By streamlining insurance operations and enabling seamless management of multiple organizations, it delivers an intuitive experience that resonates with both clients and internal teams. Furthermore, it allows for the creation of unique client portals, where every user enjoys a tailored interface aligned with their specific needs.
So if you want to adapt your insurance software for policy management or claims management, Openkoda provides the perfect solution. It allows organizations to design user interfaces tailored to specific workflows and user roles, ensuring that policyholders, claims adjusters, and administrators all interact with an interface customized to meet their unique needs.
Openkoda offers these customization and personalization capabilities in a swift, hassle-free manner without imposing any restrictions. This ensures your software remains intuitive, user-friendly, and closely tied to your organization’s identity.
In this guide, we’ll walk you through the steps to personalize Openkoda’s interface. Follow the steps or watch a video tutorial:
Step 1: Start with the Default Dashboard
Let’s start on the dashboard builder.
The first thing you can do is to upload your organization’s logo and select your brand’s color palette.
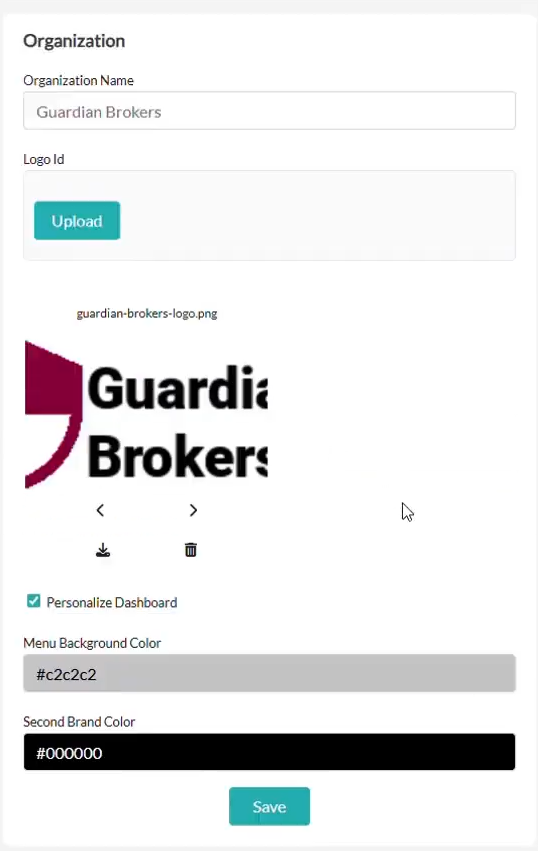
A branded interface enhances user trust and creates a consistent experience across all touchpoints.
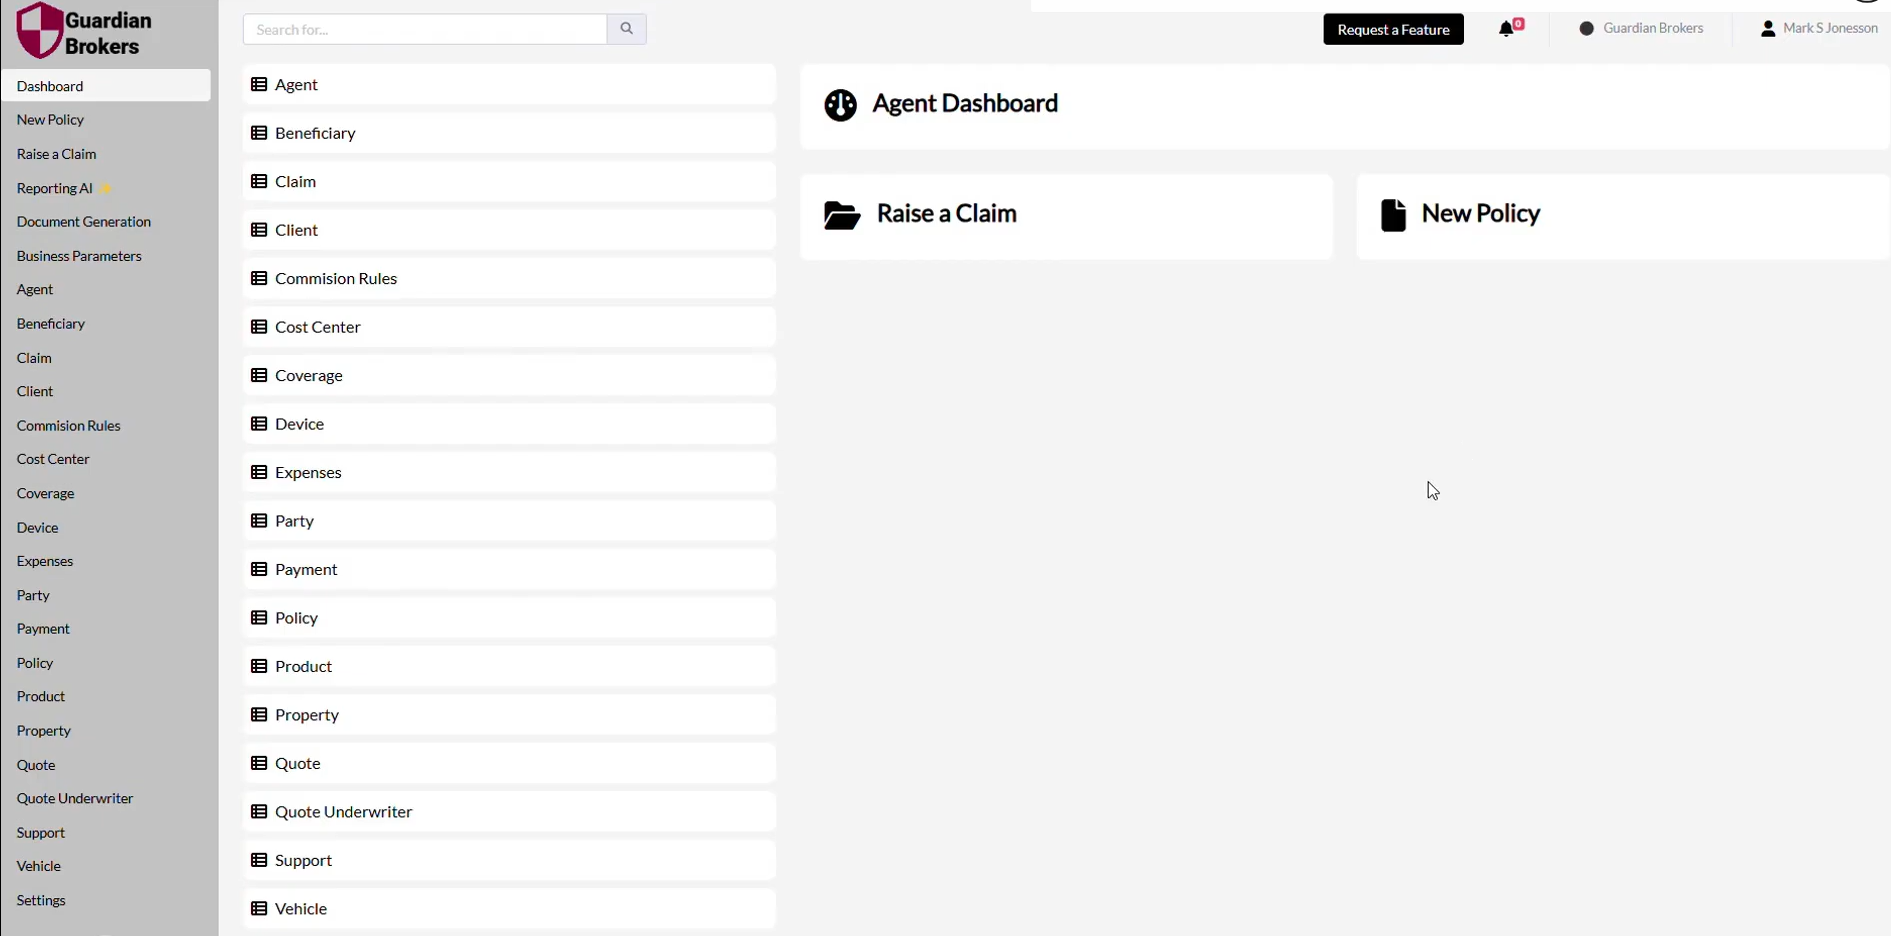
Here’s the default layout of the Openkoda dashboard, which is our starting point.
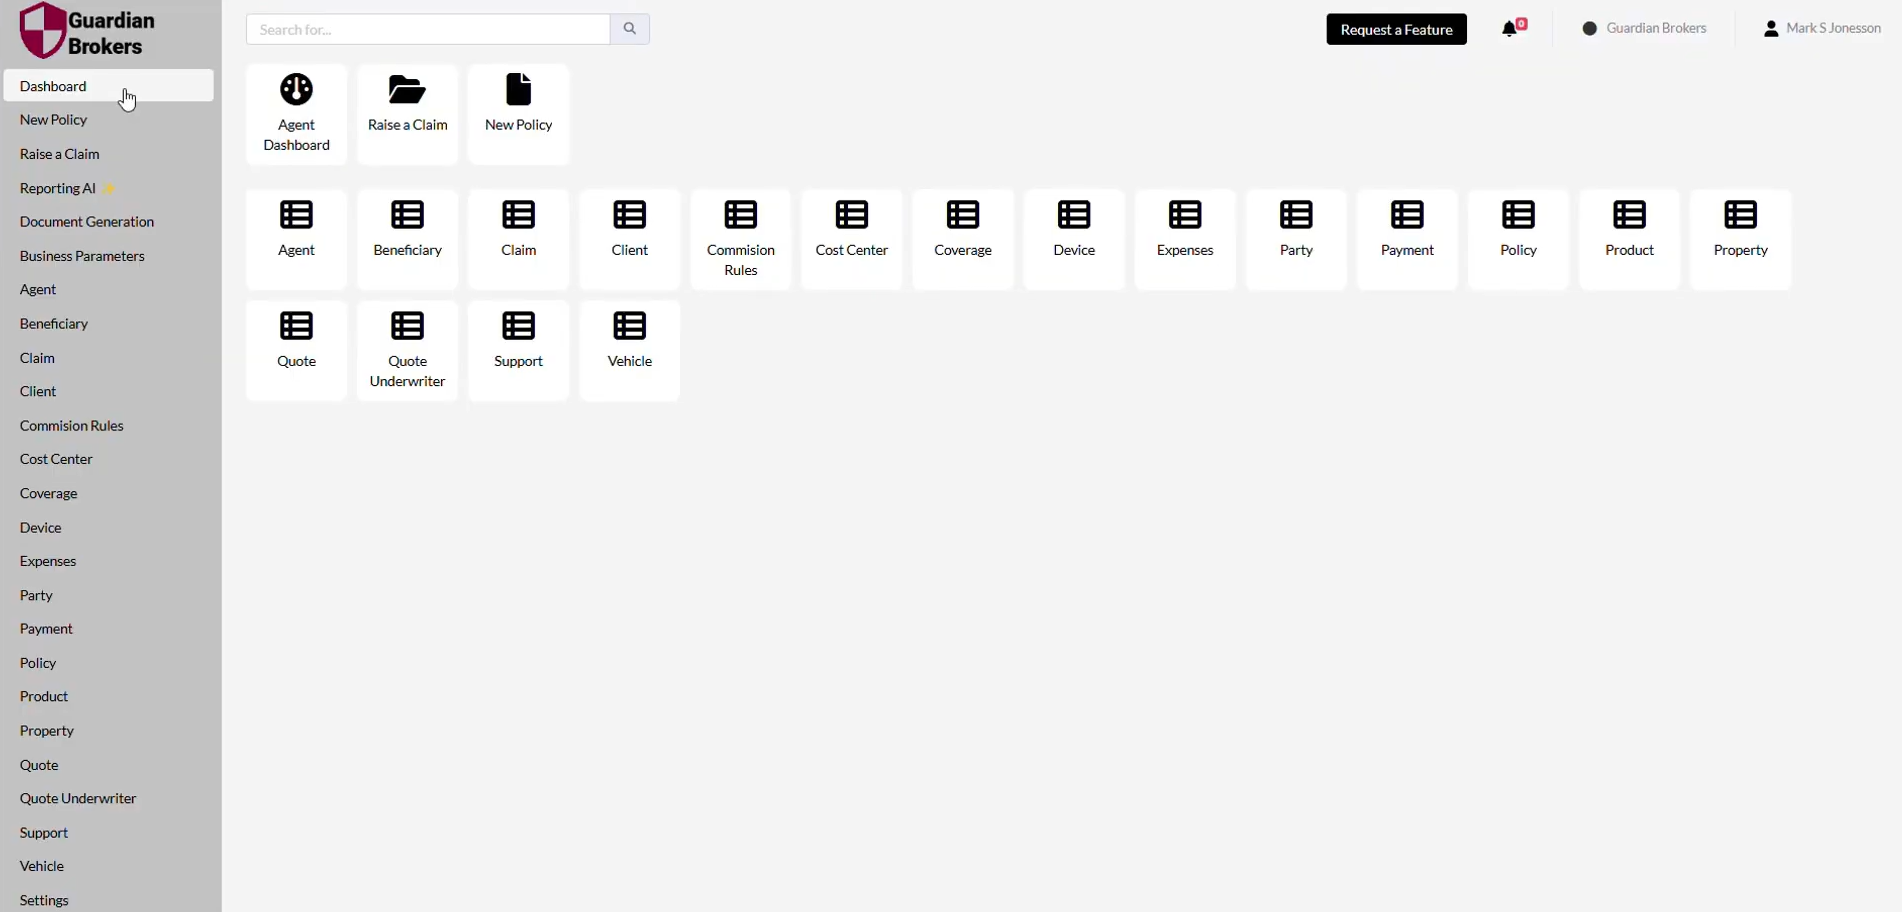
We’ll gradually change its elements to suit our desired look & feel and needs – you’ll only see the features you actually use on the dashboard.
[Learn also: Step-by-Step Guide to Creating a Custom Insurance Business Dashboard]
Step 2: Make Direct UI Changes
Openkoda allows direct customization within the application, saving time and reducing dependency on developers.
Go to the Dashboard CMS.
Locate the dashboard component associated with your Organization ID.
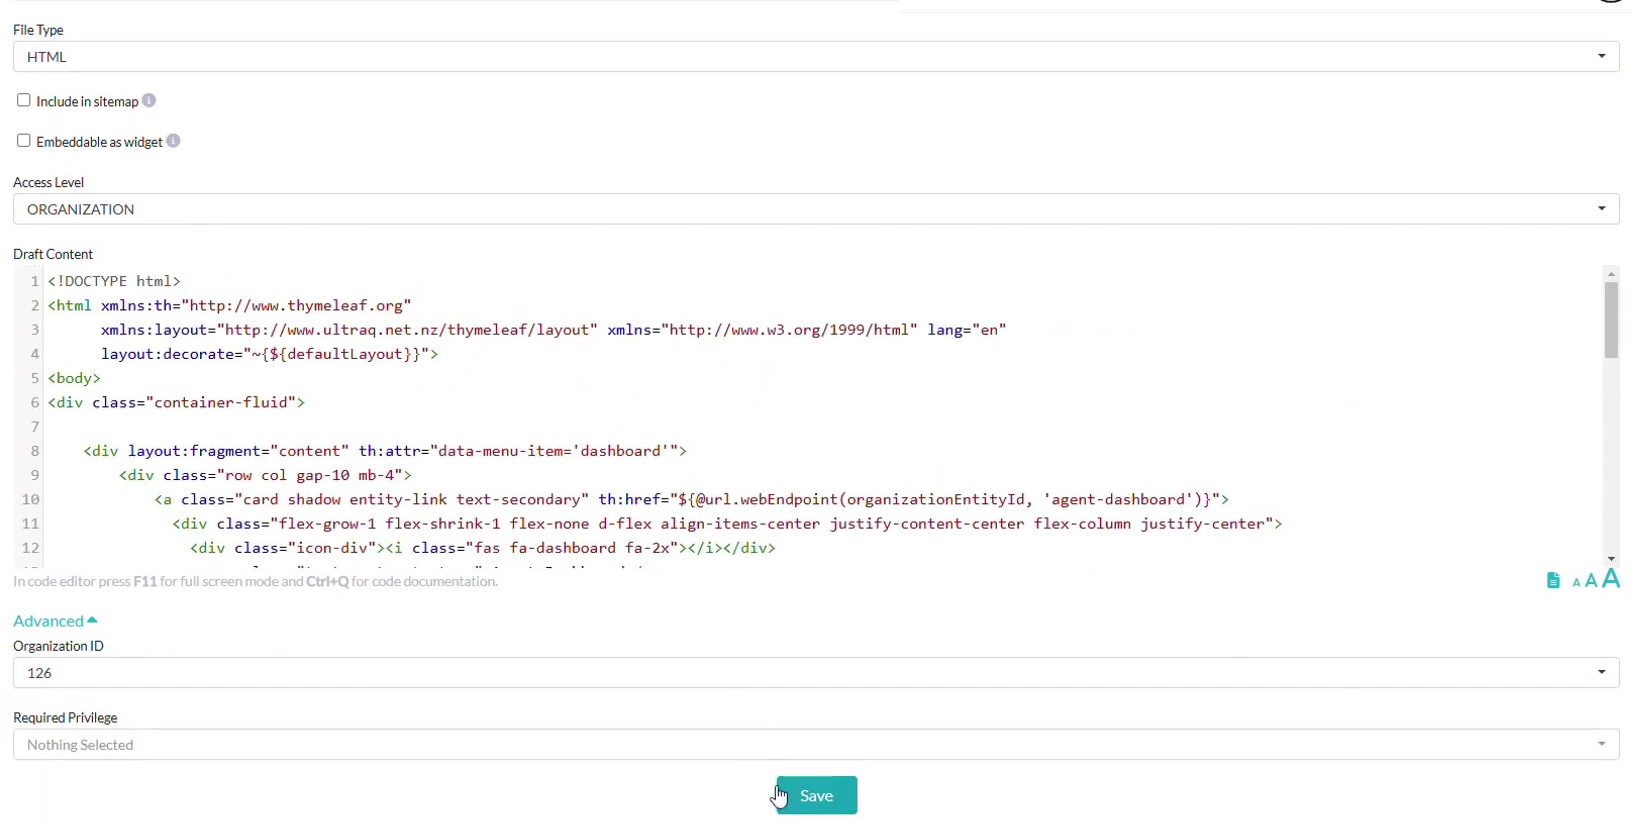
You can edit layout elements, such as headers, widgets, and data tables in HTML.
Immediate, practical changes eliminate lengthy development cycles and allow you to respond to evolving needs in real time.
Step 3: Adjust Layout and Content
Fine-tune your dashboard by organizing its content to fit your team’s workflow.
Adjust the positioning of tables, buttons, and other components to match organizational preferences.
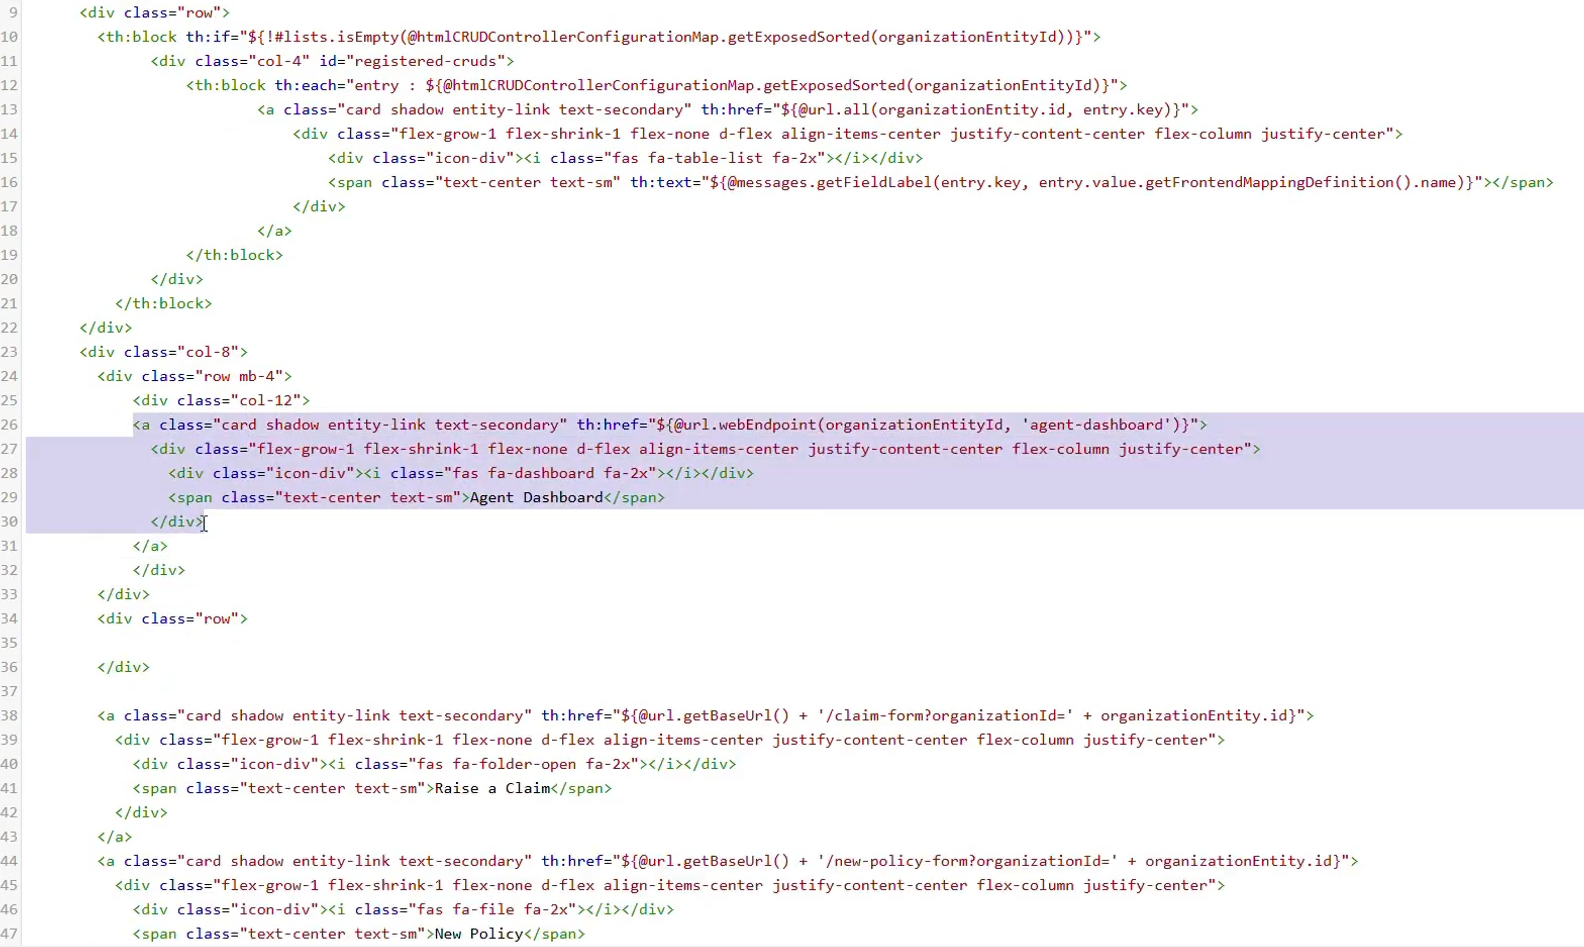
These changes are organization-specific, so each team can decide how their dashboard looks. This customized layout increases productivity by presenting critical information clearly.
[Learn also: How to Build a Personalized Insurance Policy Dashboard]
Step 4: Customize the Menu Bar
The menu bar is a critical navigation tool for your team.
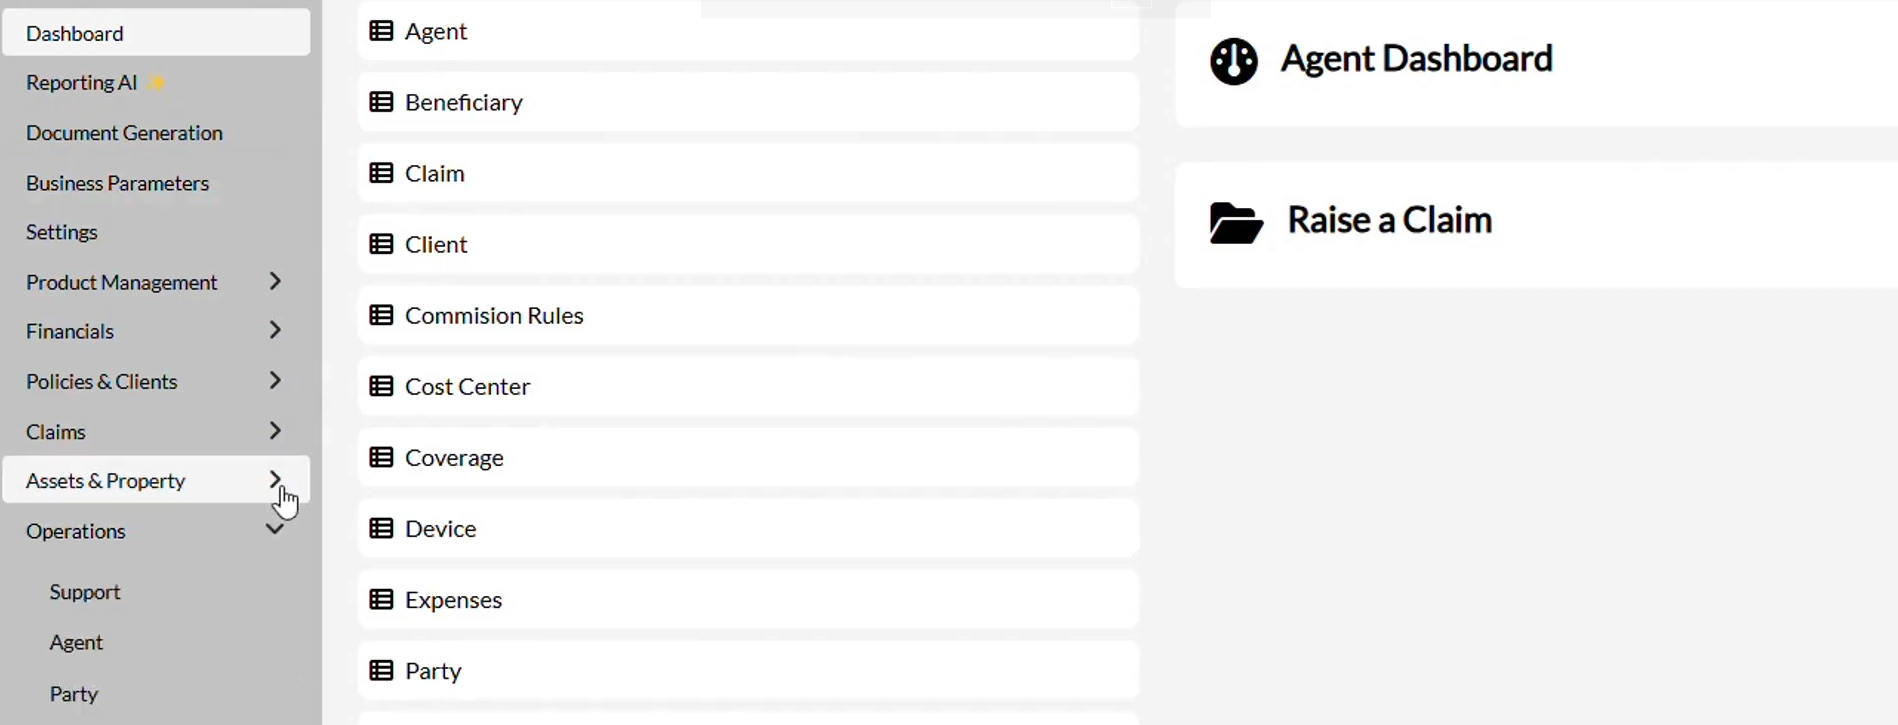
So now, we will make it intuitive and informative by groping menu items into logical categories, such as:
- Finance
- Product Management
- Claims
- Operations

The menu bar changes immediately to fit your preferences.
Step 5: Add Data Visualizations
The final step for today is to add useful data visualizations.
We will embed charts and graphs to display key metrics on the dashboard. You can choose exactly what data you want to see on your dashboard.

Visual data empowers teams to always stay updated on key metrics and make informed decisions quickly.
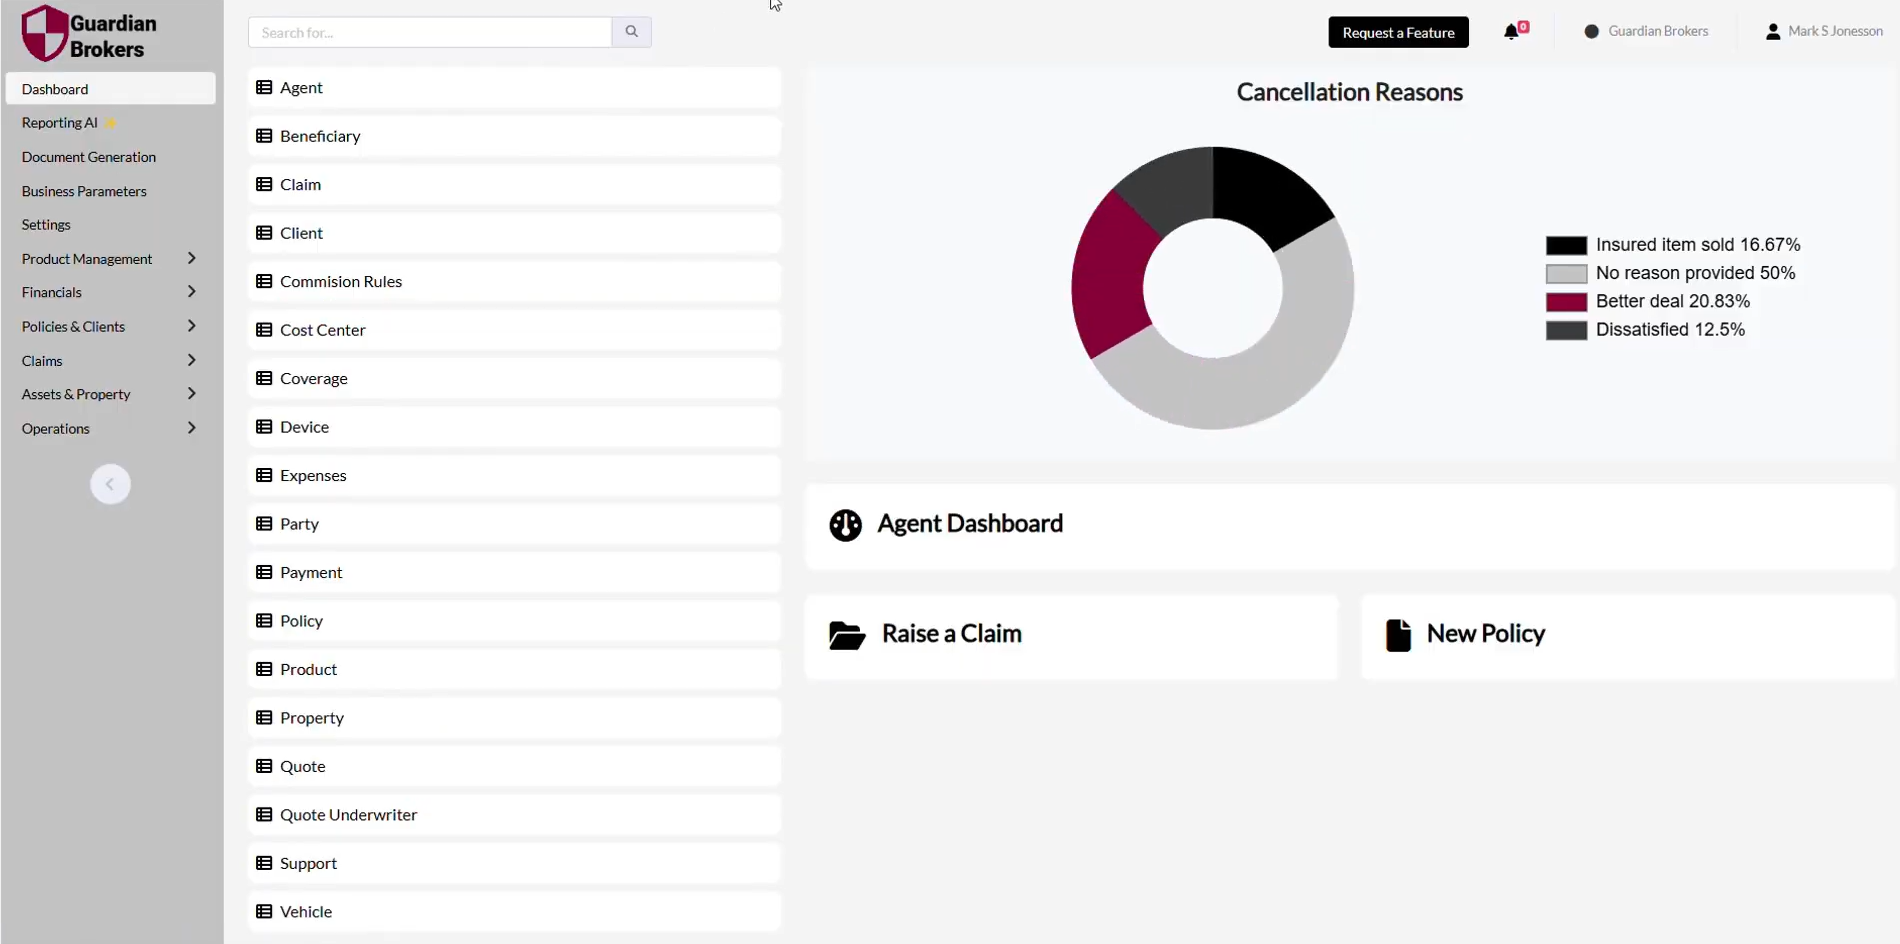
Your custom interface is ready!
You now have a fully personalized main dashboard that is perfectly aligned with your organization’s brand and tailored to your unique needs.
With Openkoda, the possibilities for customization are endless. Whether it’s fine-tuning layouts or adding features, you can make changes in minutes-no need to wait for developers or worry about tasks getting stuck in backlogs.
Ready to go further? Discover how to build a custom Client Portal in Openkoda and unlock even more potential for your business!
Create a Personalized Experience for Your Insurance Application with Openkoda
Openkoda empowers insurance companies to create a branded, user-friendly experience. With this platform, you can make quick changes and see the results instantly.
A personalized insurance application interface not only enhances brand identity but also improves operational efficiency and user engagement. Transform your dashboard into a powerful tool that aligns with your organization’s goals. Start customizing today and see the difference it makes for your team and your business.
Book a personal demo with us and learn more about Openkoda’s capabilities.
Related Posts
- How to Automate Insurance Policy Renewal Reminders?
- How to Create Custom Notifications for Your Application
- How to Manage User Roles and Create Custom Permissions in Your Application
- How to Build a Personalized Insurance Policy Dashboard
- How to Generate Insurance Documents with Customizable Templates